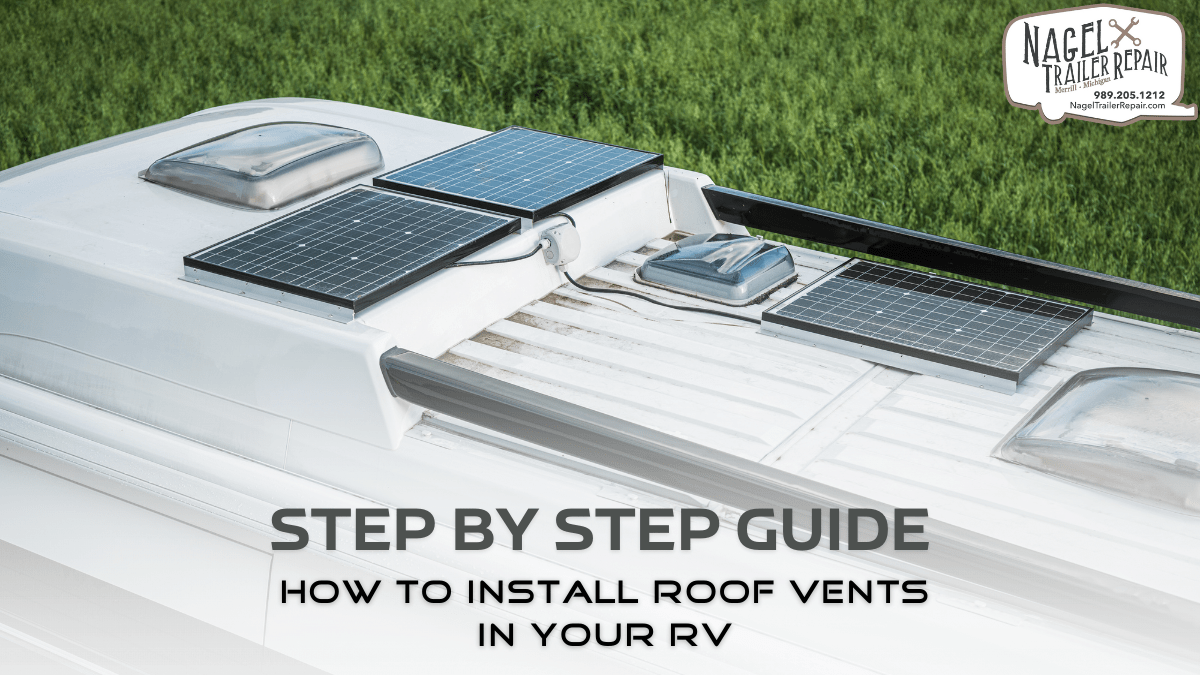
When it comes to enjoying the open road and exploring the great outdoors in your RV camper, proper ventilation is essential. Installing roof vents is an excellent way to ensure a comfortable and healthy environment inside your recreational vehicle. In this step-by-step guide, we will walk you through the process of installing roof vents in your RV, making sure you have all the ventilation you need for your adventures. And if you’re looking for RV camper parts in Michigan, we’ll point you in the right direction for sourcing the necessary materials.
Step 1: Gather Your Materials
Before you start the installation process, it’s crucial to gather all the necessary materials and tools. Here’s a list of what you’ll need:
Roof vent kit (includes the vent, trim ring, and hardware)
Butyl tape
Sealant(appropriate for RV use)
Screwdriver
Drill with the appropriate bits
Measuring tape
Pencil & Putty knife
Now that you have everything you need, let’s move on to the installation process.
Step 2: Choose the Right Location
Selecting the correct location for your roof vent is vital. You’ll want to place it in an area that maximizes airflow while minimizing the risk of leaks. Typically, RVs come with a roof vent already installed in the bathroom area, but you may want to add more for better ventilation.
Step 3: Mark and Prepare the Installation Site
Using your measuring tape and pencil, mark the location where you want to install the roof vent. Ensure it’s centered and in a place that won’t interfere with other structures on the roof, such as air conditioners or roof trusses.
Step 4: Cut the Hole
Carefully drill a hole at the center point you marked in the previous step. Start with a small pilot hole and gradually increase the size to match the diameter of your roof vent. Be cautious not to cut into any wiring or plumbing that might be hidden in the ceiling.
Step 5: Apply Butyl Tape
To prevent water from seeping in, place butyl tape around the perimeter of the hole you just drilled. This will create a waterproof seal between the roof and the vent.
Step 6: Install the Roof Vent
Position the roof vent over the hole, making sure it lines up correctly. Secure it in place using the provided screws and a screwdriver. Tighten the screws snugly but be careful not to overtighten and damage the roof or the vent.
Step 7: Apply Sealant
To further ensure a watertight seal, apply RV-specific sealant around the edges of the roof vent. Smooth it out with a putty knife to create a seamless barrier against moisture.
Step 8: Secure the Trim Ring
Place the trim ring provided with your roof vent kit over the vent on the inside of your RV. Secure it using the included hardware.
Step 9: Test Your Installation
Before you consider the job complete, test your newly installed roof vent. Turn on the fan or open the vent, and make sure it operates correctly. Additionally, check for any signs of water leaks both inside and outside your RV.
Step 10: Clean Up
Dispose of any waste materials properly and ensure your workspace is clean. Leave no trace of the installation process.
Conclusion
Proper ventilation is essential for a comfortable and healthy RV camping experience. By following this step-by-step guide, you can install roof vents in your RV with confidence, ensuring a well-ventilated and enjoyable journey. If you’re in Michigan and looking for RV camper parts, there are several reputable dealers and online stores where you can find the materials and accessories you need for your RV projects. Now, with your newly installed roof vents, you’re all set for your next adventure on the road. Safe travels!

