When it comes to maximizing comfort and maintaining proper airflow in your RV, a reliable roof vent is essential. However, choosing the right RV roof vent and installing it correctly can be a daunting task. In this article, we will guide you through the process, providing valuable insights and tips to help you select the perfect roof vent and install it like a pro.
Understanding the Importance of a Roof Vent:
RV roof vents play a crucial role in maintaining a comfortable and well-ventilated living space. They help to remove stale air, odors, and excess heat, while allowing fresh air to enter your RV. Proper ventilation is vital to prevent the buildup of moisture, which can lead to mold, mildew, and other issues. Therefore, investing in a high-quality roof vent is a wise decision.
Considerations When Choosing an RV Roof Vent:
A. Ventilation Performance: Look for roof vents that offer efficient airflow and come with adjustable settings to regulate the amount of air circulation. B. Fan Options: Consider whether you prefer a vent with a built-in fan to enhance ventilation and provide cooling options. C. Noise Level: Choose a roof vent with quiet operation to ensure a peaceful environment inside your RV. D. Weather Resistance: Opt for a vent that can withstand various weather conditions, including rain, snow, and extreme temperatures. E. Power Source: Decide between electric-powered or manual roof vents, depending on your specific needs and preferences.
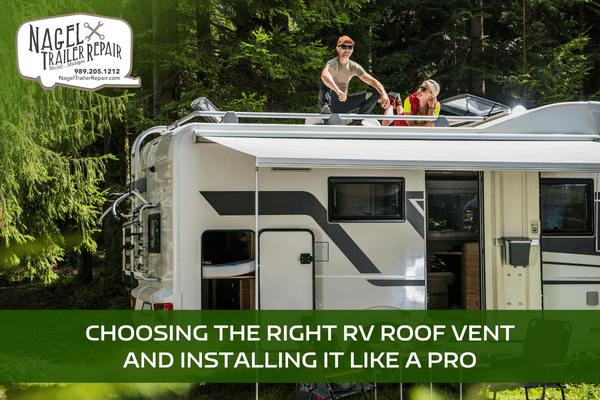
Installing the RV Roof Vent:
A. Gather the Necessary Tools: Before beginning the installation process, ensure you have the required tools such as a drill, screwdriver, sealant, and measuring tape. B. Locate the Ideal Spot: Choose the area on your RV’s roof where you want to install the vent. Consider factors like obstructions, proximity to wiring or plumbing, and the desired airflow direction. C. Mark and Cut an Opening: Using the measurements provided in the roof vent’s installation instructions, mark and carefully cut an opening in the roof. Take necessary precautions to avoid damaging any wiring or structural components. D. Install the Vent Frame: Attach the vent frame securely to the roof using screws or bolts as instructed. Ensure a watertight seal by applying a layer of sealant around the edges. E. Connect Wiring (if applicable): If your roof vent includes a fan or other electrical components, carefully follow the wiring instructions to connect it to a power source. F. Install the Vent Cover: Attach the vent cover to the frame, making sure it fits snugly and provides adequate protection against the elements. G. Test and Inspect: Once the installation is complete, test the functionality of the roof vent and inspect for any potential leaks or gaps. Make any necessary adjustments or apply additional sealant if needed.
Maintenance and Care:
To ensure the longevity and optimal performance of your RV roof vent, regular maintenance is necessary. Clean the vent and its components periodically, inspect for any signs of damage or wear, and replace any faulty parts promptly.
Conclusion:
Choosing the right RV roof vent and installing it properly can greatly enhance the comfort and livability of your RV. By considering important factors and following the correct installation steps, you can ensure effective ventilation and a pleasant indoor environment throughout your travels. Don’t underestimate the importance of a well-designed roof vent – it’s an investment that pays off in the long run.